Our blog post describes the latest improvements in Core ML that make it possible to create smaller models and run them faster. This is a step-by-step guide that just focuses on how to convert and run any model in the Hub.
Steps
Install apple/ml-stable-diffusion
This is the package you’ll use to perform the conversion. It’s written in Python, and you can run it on Mac or Linux. If you run on Linux, however, you won’t be able to test the converted models, or compile them to .mlmodelc format.
Find the model you want
The conversion script will automatically download models from the Hugging Face Hub, so you need to ensure the model is available there. If you have fine-tuned a Stable Diffusion model yourself, you can also use a local path in your filesystem.
An easy way to locate interesting models is browsing the Diffusers Models Gallery.
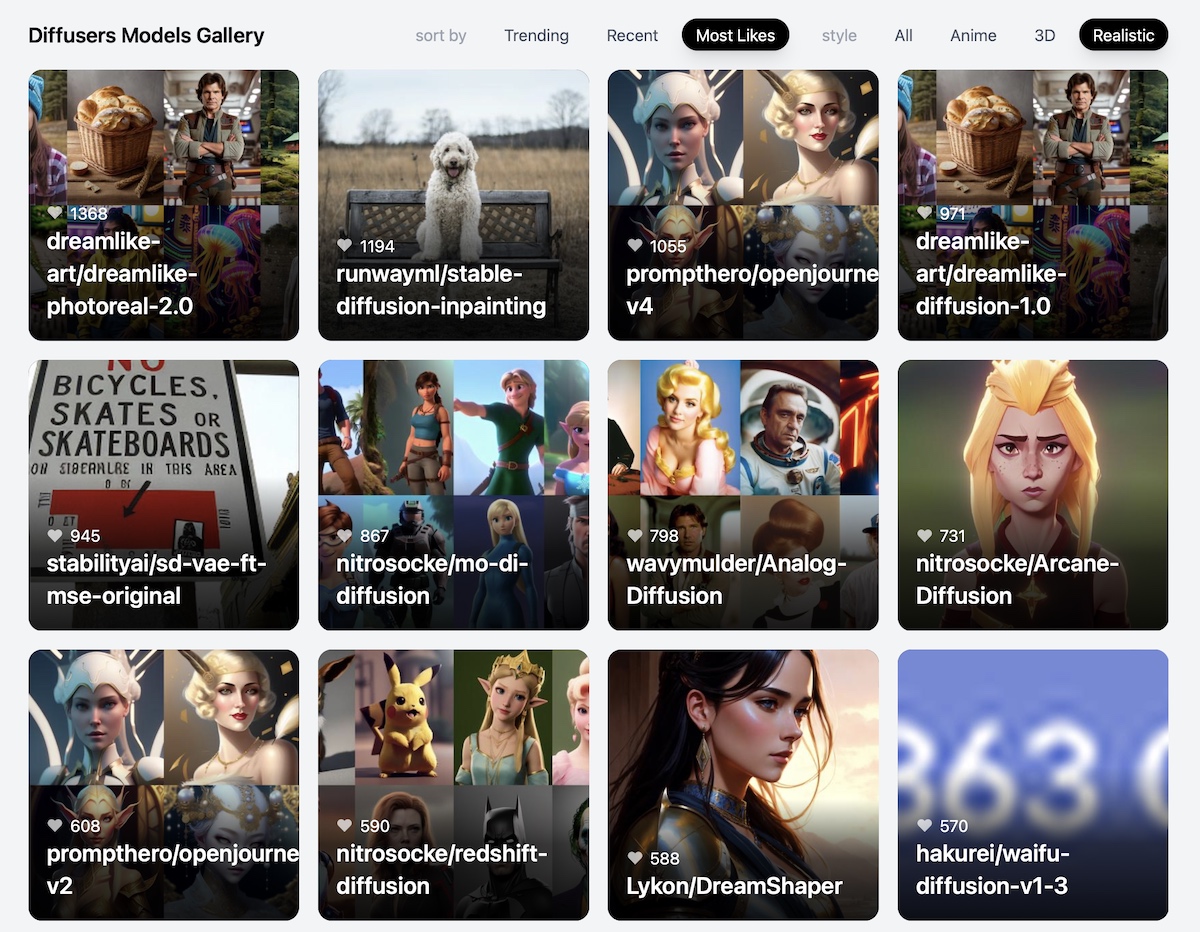
In this guide we’ll be converting Open Journey v4 by PromptHero.
- Ensure the model is in
diffusersformat. If it’s just a single file with a “checkpoint”, you can use this Space to convert it to diffusers. - If you find a model that is not available in the Hub, consider uploading it for free. All you need is a Hugging Face Hub account, and you can make models public or private for your own use.
Decide your target hardware
The fastest engine and conversion options require beta software. If you want the best experience possible you’ll need to:
- Install coremltools 7.0 beta:
pip install coremltools==7.0b1
-
Install iOS 17 or macOS 14 (Sonoma). Visit developer.apple.com and follow the instructions there.
-
Install Xcode 15 beta, also from Apple Developer
If you don’t want to upgrade your devices or want to distribute your apps to others, you’ll need the latest production versions of these tools.
Run the conversion process using the ORIGINAL attention implementation
The attention blocks are critical for performance, and there are two main implementations of the algorithm. The problem is that there’s no easy way to be sure what implementation is faster for a particular device, so I recommend you try them both. Some general rules:
SPLIT_EINSUM_V2is usually faster on iOS/iPadOS devices, and sometimes on high-end models such as M2 computers with lots of neural engine cores.ORIGINALis usually faster on M1 Macs.
This is how to run the conversion process. Please, note that some options will depend on whether you are targetting the iOS 17 or macOS betas:
1
2
3
4
5
6
7
8
9
10
11
12
13
python -m python_coreml_stable_diffusion.torch2coreml \
    --model-version prompthero/openjourney-v4 \
    --convert-unet \
    --convert-text-encoder \
    --convert-vae-decoder \
    --convert-vae-encoder \
    --convert-safety-checker \
    --quantize-nbits 6 \
    --attention-implementation ORIGINAL \
    --compute-unit CPU_AND_GPU \
    --bundle-resources-for-swift-cli \
    --check-output-correctness \
    -o models/openjourney-6-bit/original
2Use the Hub model id you want to convert6Optional, only if you want to use input images (in-painting, image-to-image tasks)8Requires beta software. Use--chunk-unetinstead if you don’t use it.10ORIGINALimplementation runs on CPU and GPU, but not on the Neural Engine (ANE)11Requires conversion on a Mac12Requires conversion on a Mac13Destination folder
Run the conversion process using the SPLIT_EINSUM_V2 attention implementation
As mentioned above, this attention implementation is able to use the Neural Engine in addition to the GPU, and is usuallly the best choice for iOS devices. It may also be faster on Macs, especially on high-end ones.
1
2
3
4
5
6
7
8
9
10
11
12
13
python -m python_coreml_stable_diffusion.torch2coreml \
    --model-version prompthero/openjourney-v4 \
    --convert-unet \
    --convert-text-encoder \
    --convert-vae-decoder \
    --convert-vae-encoder \
    --convert-safety-checker \
    --quantize-nbits 6 \
    --attention-implementation SPLIT_EINSUM_V2 \
    --compute-unit ALL \
    --bundle-resources-for-swift-cli \
    --check-output-correctness \
    -o models/openjourney-6-bit/split_einsum_v2
2Use the Hub model id you want to convert6Optional, only if you want to use input images (in-painting, image-to-image tasks)8Requires beta software. Use--chunk-unetinstead if you don’t use it.10SPLIT_EINSUM_V2runs on all available devices (CPU, GPU, Neural Engine)11Requires conversion on a Mac12Requires conversion on a Mac13Destination folder
Understanding the conversion artifacts
Once you run the two conversion commands, the output folder will have the following structure:
openjourney-6-bit
├── original
│   ├── Resources
│   ├── Stable_Diffusion_version_prompthero_openjourney-v4_safety_checker.mlpackage
│   ├── Stable_Diffusion_version_prompthero_openjourney-v4_text_encoder.mlpackage
│   ├── Stable_Diffusion_version_prompthero_openjourney-v4_unet.mlpackage
│   ├── Stable_Diffusion_version_prompthero_openjourney-v4_vae_decoder.mlpackage
│   └── Stable_Diffusion_version_prompthero_openjourney-v4_vae_encoder.mlpackage
└── split_einsum_v2
    ├── Resources
    ├── Stable_Diffusion_version_prompthero_openjourney-v4_safety_checker.mlpackage
    ├── Stable_Diffusion_version_prompthero_openjourney-v4_text_encoder.mlpackage
    ├── Stable_Diffusion_version_prompthero_openjourney-v4_unet.mlpackage
    ├── Stable_Diffusion_version_prompthero_openjourney-v4_vae_decoder.mlpackage
    └── Stable_Diffusion_version_prompthero_openjourney-v4_vae_encoder.mlpackage
- The
mlpackagefiles are the Core ML versions of each component of the Stable Diffusion model. These files are suitable for integration in a native app, or to run inference using Python we’ll see below. - The
Resourcesfolders contain the compiled versions of the same files, wich the extension.mlmodelc. These are suitable for download in a native app, or to run inference with Swift.
Use the command-line tools to verify conversion
This requires a Mac, because you need Apple’s CoreML framework in order to run Core ML models. The first time you run inference it will take several minutes, as CoreML will compile the models (if necessary), analyze them and decide what compute engines to use for best performance. Subsequent runs will be much faster as the planning phase will be cached.
To use the Python CLI, use the -i argument to indicate the location where all the mlpackage files reside. Be sure to use the same model-version you used when converting:
python -m python_coreml_stable_diffusion.pipeline \
    --model-version prompthero/openjourney-v4 \
    --prompt "a photo of an astronaut riding a horse on mars" \
    -i models/openjourney-6-bit/split_einsum_v2 \
    --compute-unit CPU_AND_NE \
    -o output/split_einsum_v2 \
    --seed 43
There’s also a Swift CLI that is similar to the Python one. In this case, you need to point it to the location where the compiled Resources are, and it’s not necessary to indicate what the original model version was. In this example we’ll test the ORIGINAL variant:
swift run StableDiffusionSample \
    "a photo of an astronaut riding a horse on mars" \
    --resource-path models/openjourney-6-bit/original/Resources \
    --compute-units cpuAndGPU \
    --output-path . \
    --seed 43
The first time you run the swift CLI, it will be compiled for you. Use --help to display a list of all the options you can use.
Upload Core ML models to the Hub
We’ll perform the following actions:
- Rename the
Resourcesfoldercompiled. - Put all the
.mlpackagefiles inside a folder calledpackages. - Create two
ziparchives with the contents of each one of thecompiledfolders. These archives are useful for third-party apps. - Create a new model in the Hub and upload all these contents to it. You can also open a pull request to the original repo instead of creating a new one.
- Don’t forget to create a model card (a
README.mdfile) to acknowlege the original authors and describe the contents of the model. - Add the
core-mltag to the YAML section of the model card. This is important for search and discoverability!
This is the file structure in my filesystem, just before upload:
openjourney-6-bit
├── README.md
├── coreml-prompthero-openjourney-v4-palettized_original_compiled.zip
├── coreml-prompthero-openjourney-v4-palettized_split_einsum_compiled.zip
├── original
│   ├── compiled
│   └── packages
└── split_einsum_v2
    ├── compiled
    └── packages
And this is the repo I uploaded everything to.
Use the Core ML models
To run the models in a third party app, you’ll typically need to configure the app to download any of the zip files we created earlier. Some app examples are Swift Diffusers or Mochi Diffusion, which was initially based on the former.
If you want to integrate the models in your own app, you can drag and drop the .mlpackage files in your Xcode project. Xcode will then compile the models and bundle them as part of your application. You can write your own code for inference, or you can add apple/ml-stable-diffusion as a package dependency to use the StableDiffusion Swift module.
Feedback
Want to suggest improvements or fixes to this documentation? Visit the repo to report an issue or open a PR :)